
The project of how to make a camper van conversion with paulownia wood (the lightest wood), began with the purchase of a 2006 Renault Master with few kilometers and whose previous owner had already started his own adventure in the world of the camper van.
Therefore, we already had in our hands a camper van, with the following adjustments and improvements:
- Insulation throughout the cabin
- Poplar plywood floor 10 mm
- Two side-mounted windows
- Two skylights

At this moment is when Kim Jurek, instagram (@ kimjurekcrafts ) , already begins to draw in his mind how the project of camperizing this van will be like.
We leave you his email ([email protected]) and his phone number 634507205. You can contact him for information about how to convert a van to camper or to replay any questions you might have in this field.
Page index
Índice de la página
Used Camper / Renault Master Van From 2006
We decided to get rid of everything, we wanted to empty the van completely to be able to start our project from a new design.

Used camper van
A CLOSE-UP of the camper van conversion
The new distribution would include a bathroom , so to take better advantage of the space, we had no choice but to place the bed across the width.
Below you have a plan of the project.
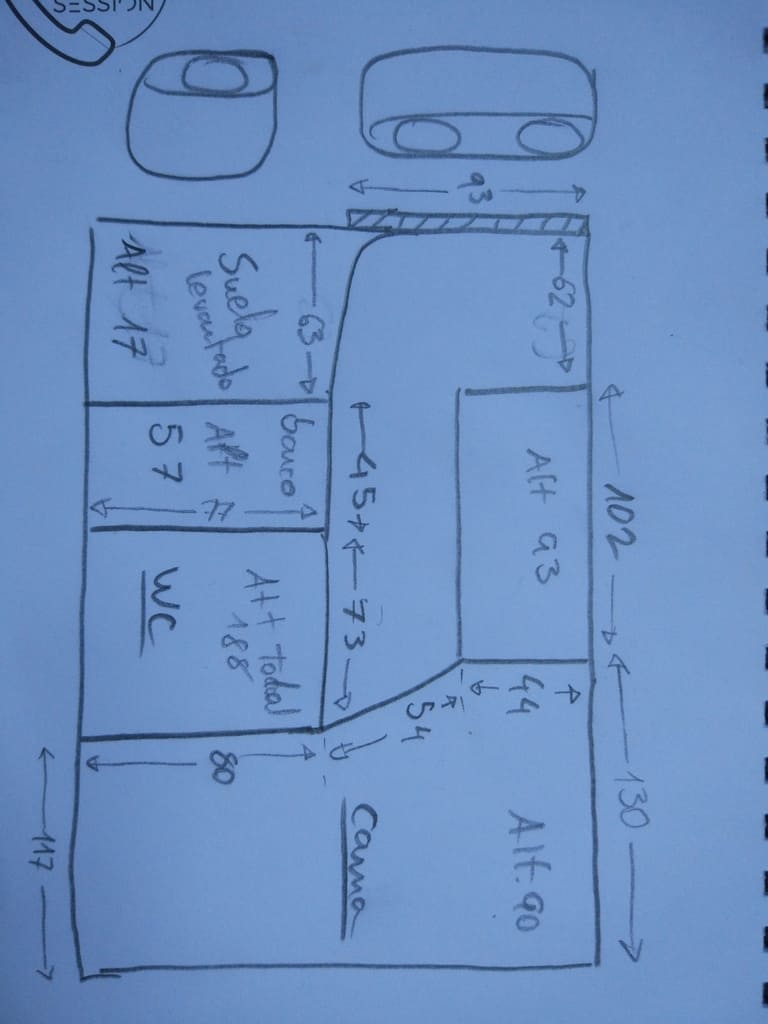
Camper Van Design
With the type of wood decided, we would have to start designing and that was done with the help of Ester ([email protected]), what would be our interior,s designer of our camper van.
Once the work was done, Ester made up a 3D design with different color proposals so that we could present it to the client.
You can download the PDF of the different projects in the following button, we also leave you her phone number (663631427) in case you are interested in designing the van of your dreams.
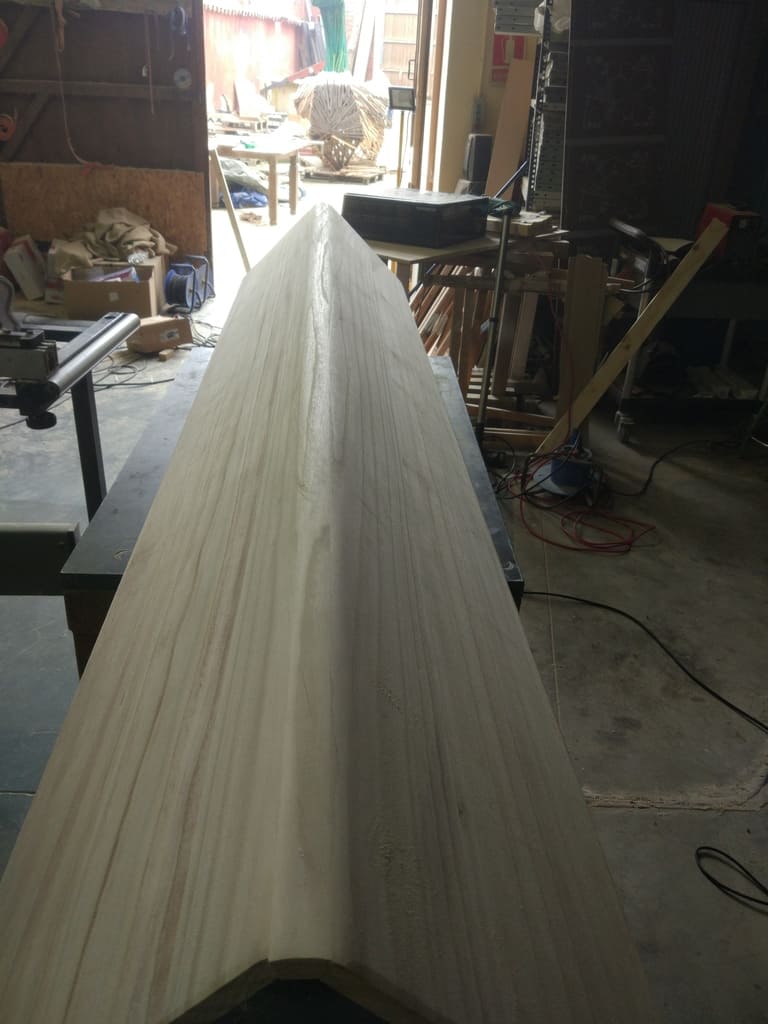
What Wood Are We Going To Work With?
After studying different types of wood we could use, we opted for the board slatted of Paulownia (edge glued board) .
The reasons were as follows:
- solid wood.
- We really liked its grain.
- We had the opportunity to work with the lightest board, far exceeding the poplar plywood with HPL.
- With this board, there was the possibility of subsequent sanding and even patching if necessary.
- It was going to allow us to give a cosy and more personalized environment .
Convert a van to camper Step By Step LET'S START!
Emptying The Van (Step 1)
To begin with we started by removing everything except the floor from the van.


Now we have the van ready to start the conversion to camper van!
After that, we mark an area behind the driver's seat where we would place the heating, the transformer, and the controller for the solar panel among other things. This would form part of the dining room floor, and as you can see, it will have a small elevation.

Rear driver's seat area
Between the bench seat and the driver's seat, which was rotatable, we decided to put a folding table .
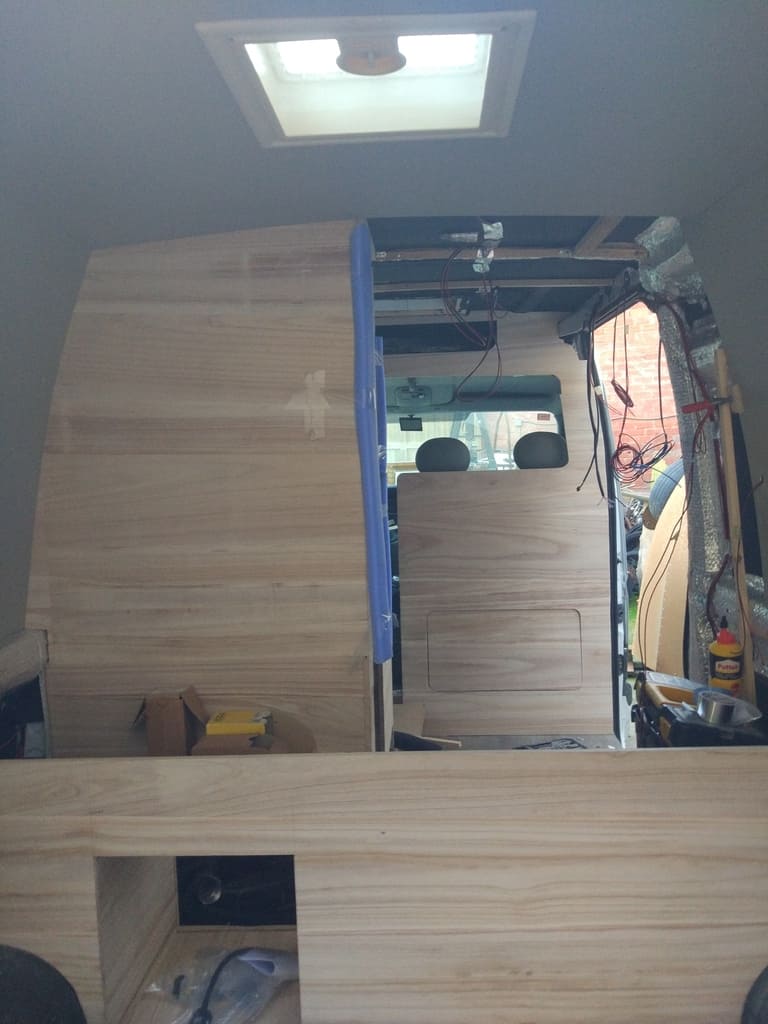
Assemble The Structure Of The Walls (Step 2)
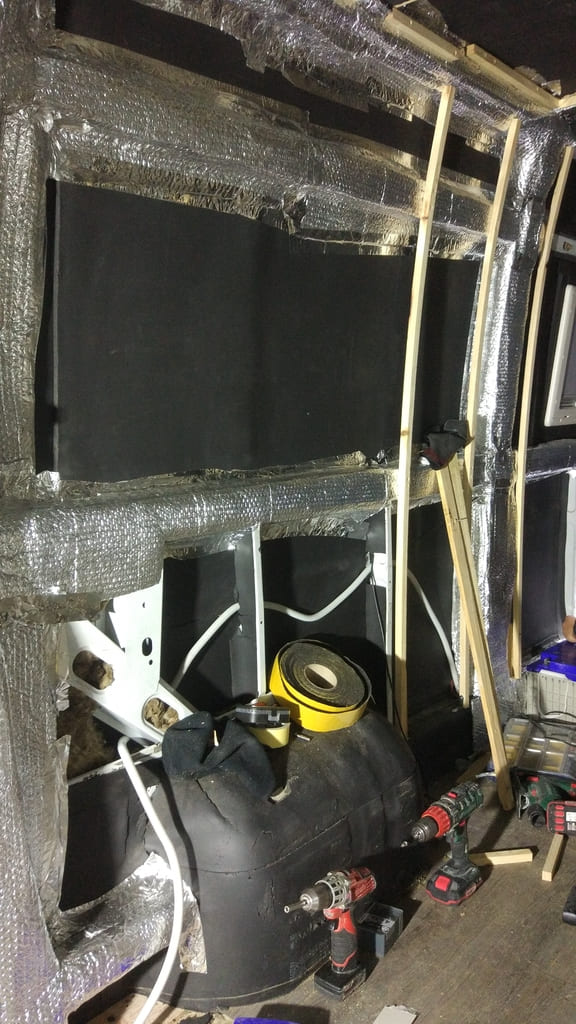
The next step for convert a van to camper is the assemble the structure of the walls. It would be to build up the structure. To do this, we first had to cover the joists with aluminum insulation that would allow us to avoid condensation between the veneer and the wood.
Next, we vertically put several strips screwed to the joists,it would be there where we would screw the bathroom walls.
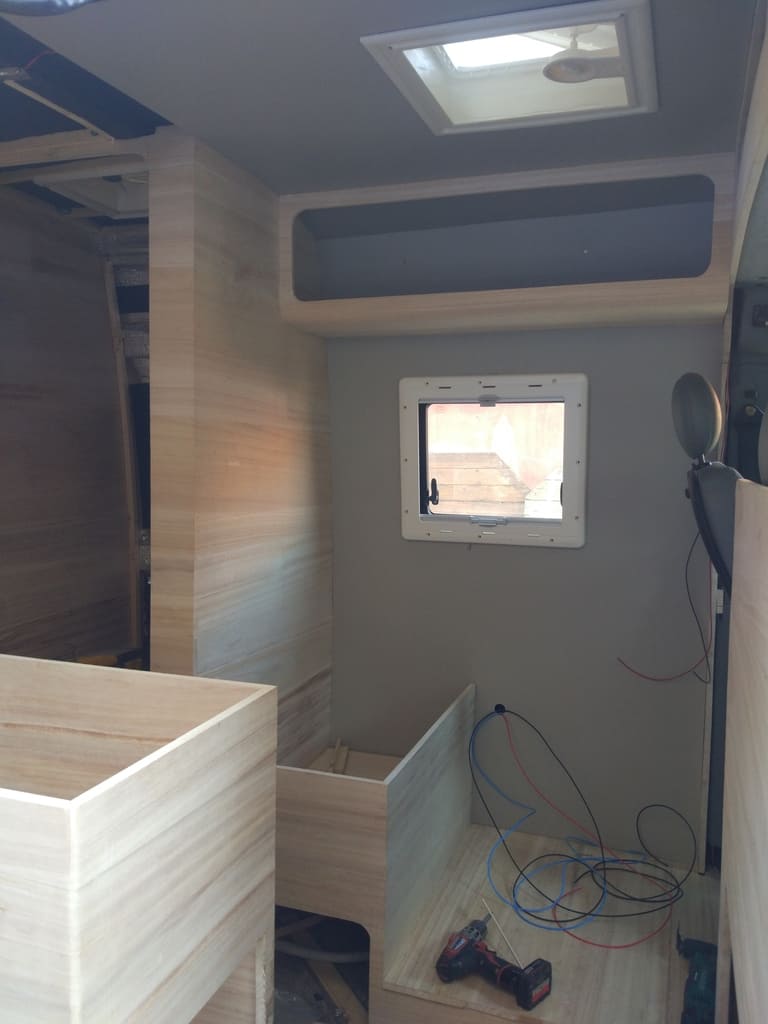
Wall Covering, convert a van to camper (camper van step 3)
Once the 8 paulownia slat boards were received , we had the opportunity to get down to work with cladding and furniture.
We started by making a selection of the boards, with the aim of combining grain and shades for the bathroom walls and the bench that we would do next.
Next we cut a miter (90º) so that the grain could be seen continuously throughout the wall. When wanting the grain horizontally, we had to glue two boards (one on top of the other). To reach the approximate height of 187 cm, given that the boards measure 240 x 120 cm.

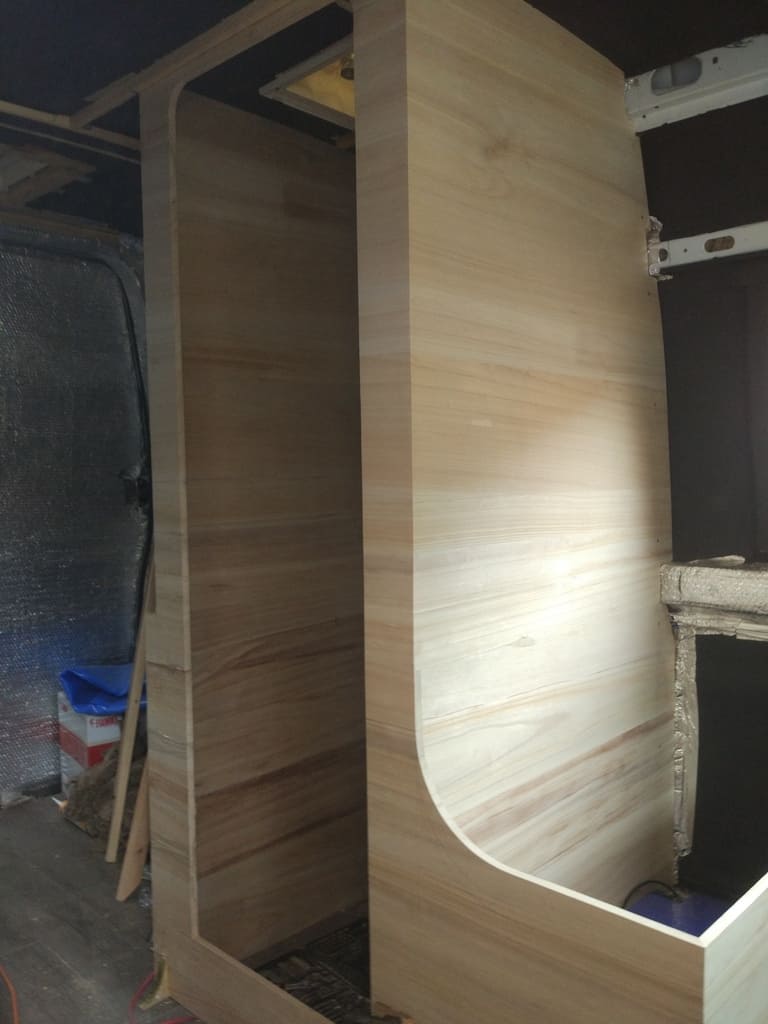
Once miter cut, we had to cut out the bathroom door and the outline of the bench .

Finishing cutting the wood , we decided that it was important to have an approximate template of the walls that touched the wall of the van (which we will attach to the vertical slats). Also we had to take into account the important thing was that they ended up inside the slat. In this way, the wall covering would end up covering it.
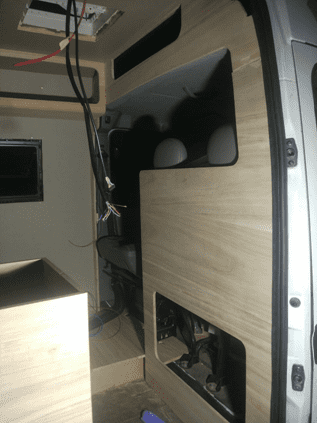
A next step would be to put the slats on both sides of the wooden walls so that we then have the possibility of fixing the wall on top.
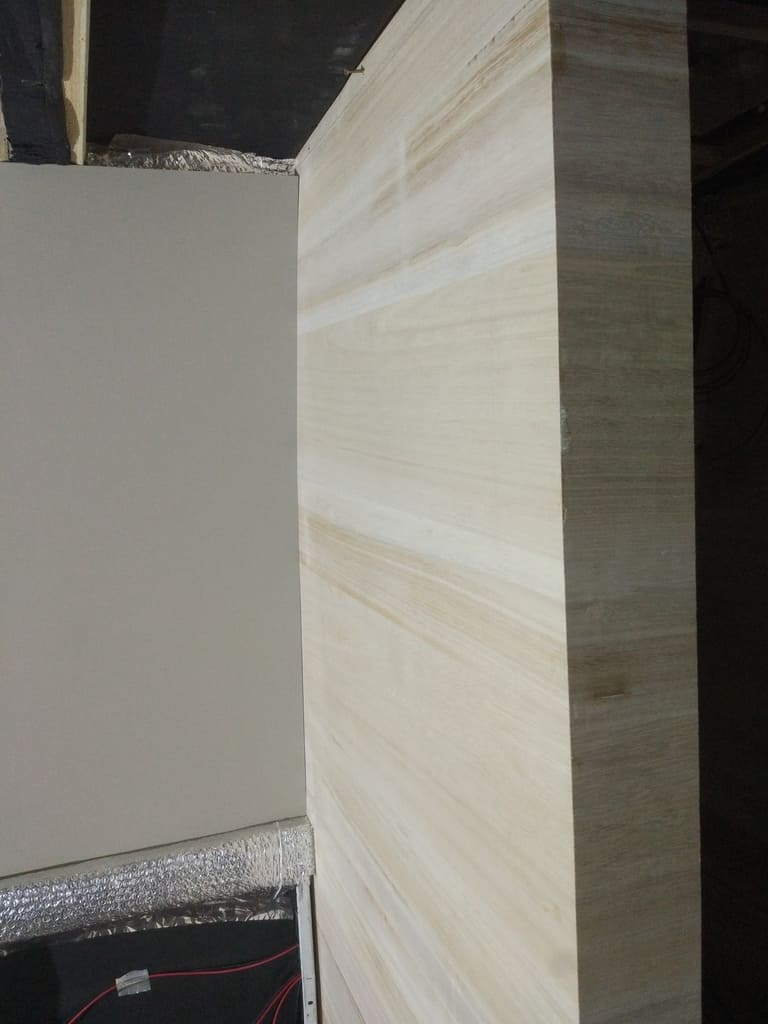
For the wall , we decided to use the plywood of Calabo of 5 mm thickness laminated CPL . This is a type of wood that can be found in some companies specialized in material for camper van.
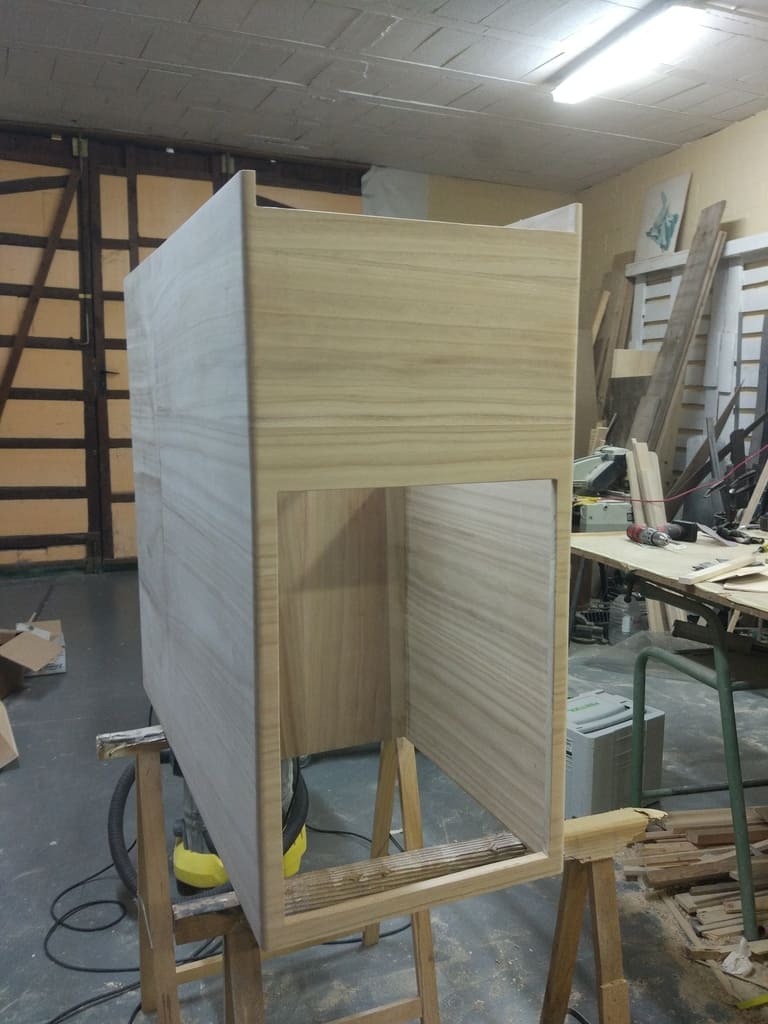
Furniture And Bunkers Of The Van (Step 4)
It was the time to start with all the furniture in our camper, so we started with the roof chests .
The first step was to cut the board at 22.5º. In this way we made a 3 cm strip in the middle to give us a bevel, which we later sanded to leave a round edge.


Lights And Action! convert a van to camper (Step 5)
Continuing with our customization process, once the roof chests were finished, we started with the lower part, where we wanted to fix a light.
After that and with the help of a milling machine (straight cutter) we made a channel to fix the aluminum profile and place the led strip in it.
Note : Another option would be a led strip that already includes its own housing and switch. if you use this option, it would only be necessary to screw it directly.


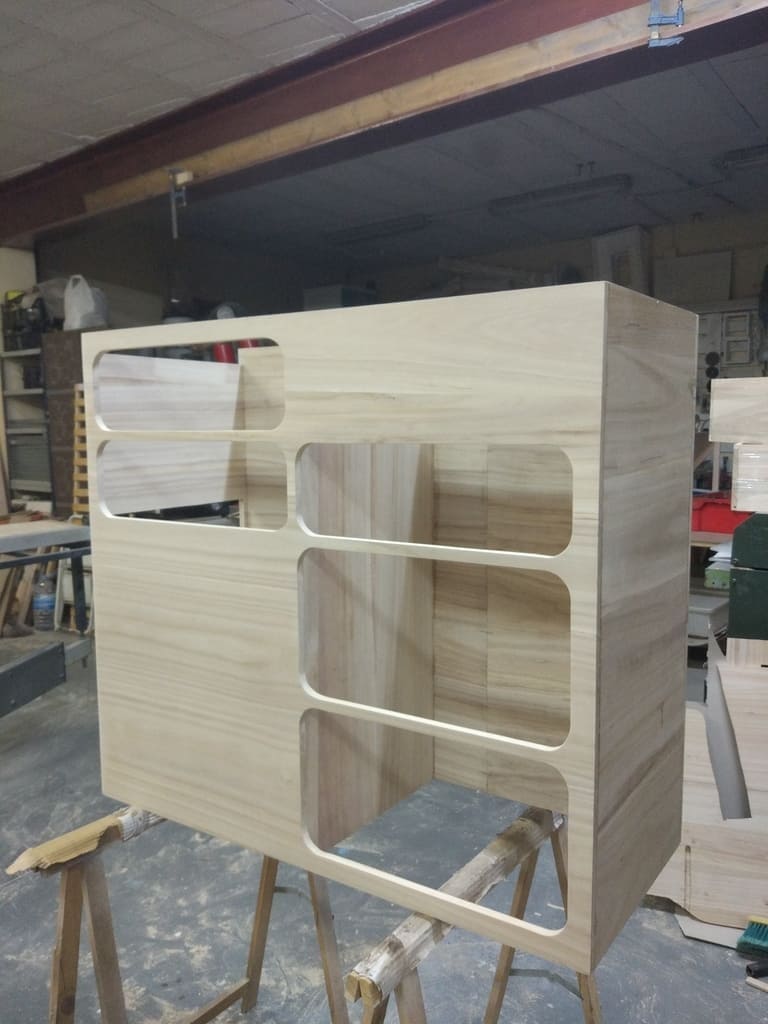
Van Doors And Drawers (Step 6)
Now it was time to get down on the doors and drawers . We wanted to keep the Paulownia grain pattern throughout all the furniture, so we had no choice but to cut the Paulownia boards with which we would make doors and drawers with an incision saw and a jigsaw .
Honestly, the option chosen is more laborious but the result is excellent .
Note : Another option would be to cut the doors from other slightly larger boards and overlap them . This saves time when placing them and having to adjust them, since the inner edge is not visible and therefore the precision should not be so precise.
As for the hinges, which many of you are wondering which one we use we went for the piano´s hinges . What is the reason? Purely visual . If we had gone for a superimposed doors, we would have use the hinges of book that are very simple to assemble.
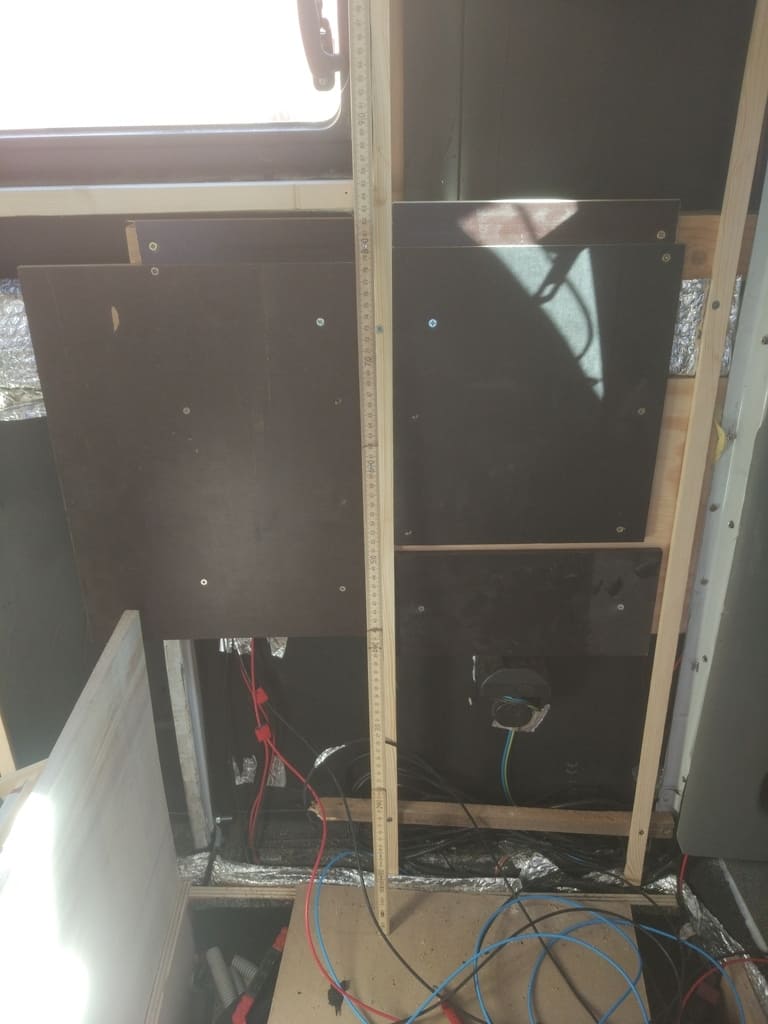
Bunker Fixation (Step 7)
At this point of convert a van to camper it was time to fix the chests with interior slats on all the edges, keeping them perfectly aligned to the walls.
The first thing we did was put the walls and the chests to take advantage of the same back wall. Now this is important ! We recommend finishing the chests outside the van, including the rear and everything that involves screwing, fixing doors, hinges, locks and lights.
It is much more comfortable to work outside the van, and although it may not seem like this it is.Sometimes these small mistakes are made and it makes the work more difficult.
Once build up, we had to cover the walls with furniture. We recommend spending time setting everything square, starting from a reference, which in our case was the ground.
Shoe Rack Built Into The Van (Step 8)
At this point the light bulb of ideas lit us up . Seeing that we weren't going to change the passenger seat to make it swivel, we decided to make a shoe rack to take advantage of the practical space we had.
Note : we have chosen to leave the natural color of the wood but it could also be melamine or painted with an airbrush .
What we did was to put some shelves on the wall on each side so that we could dismantle it and have comfortable access to the interior, where we should screw the slats to the floor and seats.
Note : there are some special hinges for shoemakers. This is: convert a van to camper
To be honest, our main idea when seeing this space, was to place the battery , but it did not fit. Therefore, we had no choice but to put it under the dining room bench, located behind a drawer and under a trunk.
Dining Table (Step 9)
For the table, we wanted it to not have legs, to be more comfy and what we did was put a board plywood of birch between the wall joists before covering the dining room. The reason was simple. We wanted to have a solid base to screw the table hinges later.
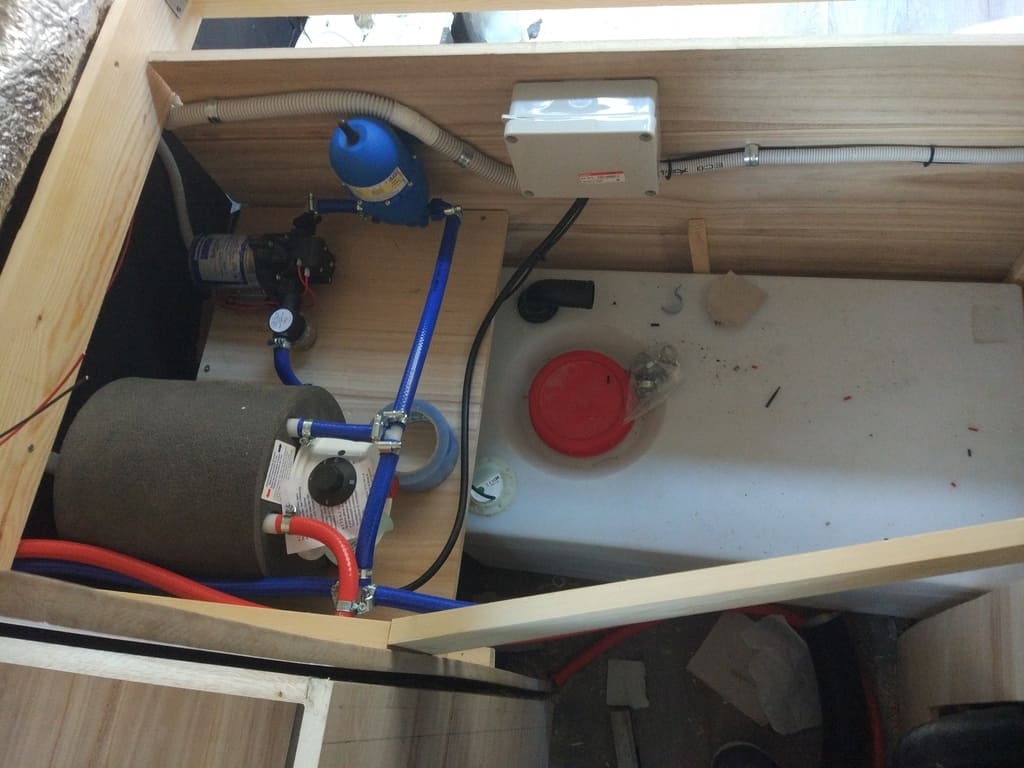
Installation Of The Water Tank, Electric Heater And Others (Step 10)
We decided to place the electric heater, the pump and the expansion tank under the bed. Also the clean water tank was located under the van.
Making the bed of the van (Step 11)
The structure of the bed was made with the board of pine , if we had to do this project again we would probably use the slatted of paulownia . At that time, we preferred to go for a pine board that we already had in stock.
This structure was bolted to the chassis of the van and to the walls of the bathroom and kitchen. We could say that approximately half of the bed's structure is fixed and the other half has hinges that allow us to lift it and have more space in the trunk .
And in this half, we made a "remove and put" custom-made bed base supported on slats to have quick access to the tank and so on.
Finally, under the bed we also put a bucket in which we will put a potty (portable toilet), with two small doors, one in the bathroom and one in the trunk.
Kitchen Cabinet (camper van conversion Step 12)
One of the important things if you convert a van to camper is the Kitchen
Learning from our mistakes, this time we build up the kitchen furniture out of the van, with a miter cut board. This would provide furniture of various drawers and a space specific for the refrigerator, and a removable tray under the worktop and sink with its own tap.
And as everything must be tell, finally for the countertop we decided to use the same parquet of the edged floor with an aluminum profile.


TACHAN! Here's The End Result of camper van conversion
Below we show you the final result made by Kim, for one of his clients with paulownia wood from GREEMAP (the LIGHTEST board certified in FSC)


Where To Buy Paulownia Slatted Boards for your camper van conversion
By the moment we don't have any distributor in Europe. Just in Spain. But we can sell you from 1 pallet of Paulownia laminated board
If you want to be our distributor just contact to us by mail: [email protected]
There are different wooden warehouses throughout Spain that sells Paulownia slatted board. If you want to buy our Kiri Wood (paulownia) you can contact us by mail.